Corporate Design
We show your best side!
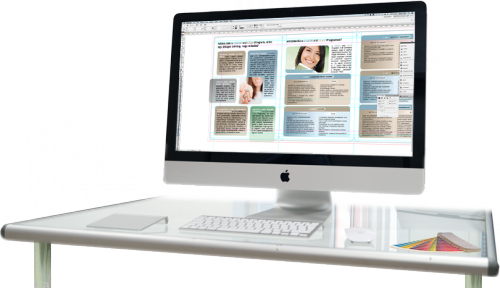
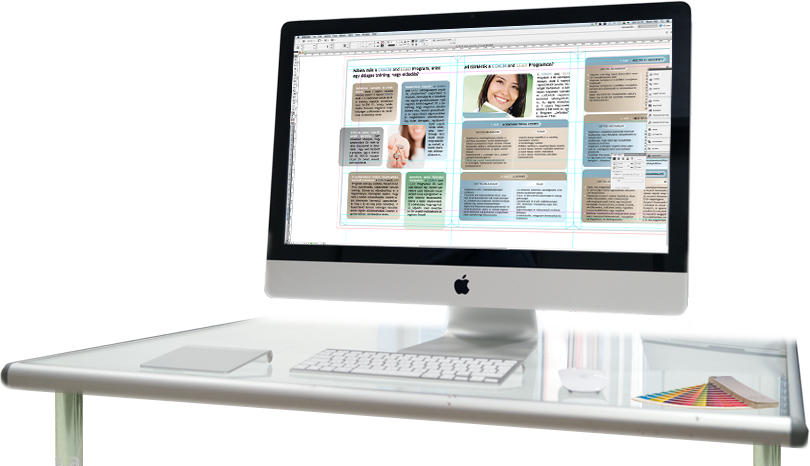
When looking through a printed publication, sometimes we face a harsh truth: what seemed good quality and print-ready on the computer screen looks "pixelated", poor and blurry when printed. It is a mystery, as everything looked fine on the computer. So what causes this phenomenon, and who is responsible for the poor results?
Both monitors and printing devices display dots. These are tiny light sources, known as pixels on the screen. The size of a screen is usually specified by the number of pixels it can display. For instance, the widely known resolution of 1024 x 768 translates to 1024 pixels displayed horizontally and 768 pixels vertically. A higher number in a given area means that the image will be richer and more detailed. However, the richness of an image on the computer screen cannot be compared to the quality of a printed image. The basic reason for this is that printers can display much more pixels per inch than monitors—especially when it comes to devices used for volume production. Therefore, what seems large on the monitor shrinks to a fraction of its on-screen size when printed, as the same amount of pixels is displayed in a much smaller area. Apart from resolution, size also plays an important role in an image appearing as expected in print, because the shrinking is caused primarily by the difference in resolution, which in turn results in a change of size. The properties of an image file contain the resolution, which is typically set to 72 dpi, and the dimensions of the image (width and height). An image is ready for the prepress procedure when the resolution value is at least 300 dpi, and its size dimensions show the expected values. This is because if the basic resolution setting of the image is 72 dpi, it is not recommended to increase its dimensions, as the image will get pixelated.
However, if the resolution is low and the dimensions are high, increasing the resolution is highly recommended. //sample image// In this case, the dimensions of the image calculated according to the new resolution can decrease, and yet, the image stays usable, i.e. high quality and reasonably sharp. The optimal solution is to set the resolution of the image to 300 dpi while letting its dimensions change relative to the resolution. This way, after the modification, the new dimensions of the image appear. These values always show the highest acceptable width and height values which will provide a lossless printed image of the required quality.
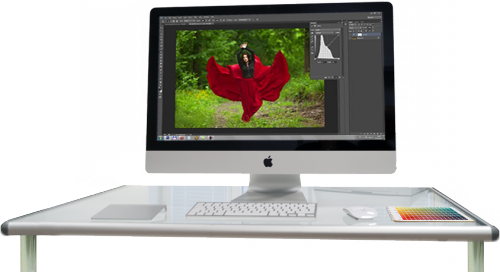
This subject is also relevant in digital photography: nowadays, even relatively cheap devices can capture acceptable quality images that are fit or can be prepared for printing purposes. However, on the basis of the above, if a captured photo might appear in print later, the image size setting of the camera should be set to "High". It is better to save the data more often from the full media than to realize that the images captured at a unique event appear good quality on-screen, but will not have the same quality in print, even after applying the latest digital tricks.
WellCom Studio has been assisting its partners for more than nineteen years in the printing industry to help them avoid such scenarios. With us, your images are in the right hands!